Integrate LDAP HA authentication
About LDAP HA
LDAP High Availability (LDAP HA) ensures the LDAP service remains operational during failures through specific configurations and technical measures. This improves the availability and reliability of directory services, ensuring that directory information within an organization is continuously accessible.
In JumpServer, the integration of LDAP HA typically ensures that if the primary LDAP server fails, the system can automatically switch to a backup LDAP HA server, ensuring the continuity of authentication services. This way, even if an LDAP server experiences issues, JumpServer can continue processing user authentication requests without causing downtime or service interruptions.
Configure LDAP before setting up LDAP HA. See Integrate LDAP guide
How to configure

Navigate to System settings > Authentication > LDAP HA.
In the LDAP HA field, check to enable LDAP HA authentication.
In the Server field, type the LDAP HA server URI, such as "ldap://example.com:389" and "ldaps://example.com:636".
To configure LDAP HA TLS certificates, you can upload the files "ldap_ha_ca.pem, ldap_ha_cert.pem, ldap_ha_cert.key" to the directory "/data/jumpserver/core/data/certs", then restart the service.
In the Bind DN field, type a user DN with at least query permissions, which will be used to query and filter users, such as "cn=admin,dc=example,dc=com".
In the Password field, type the password for the "Bind DN" user.
In the Search OU field, type the search OU to specify where to start searching for users, use | to separate multiple values, such as "ou=users,dc=example,dc=com | ou=tech,dc=example,dc=com".
In the Search filter field, type the filter expression to search for LDAP HA users. By default, the expression is "(cn=%(user)s)", where "%(user)s" is the placeholder syntax in Python. During filtering, it is replaced with *, resulting in "(cn=*)", which searches for all users. You can also replace "cn" with the actual username field, such as "uid" or "sAMAccountName".
In the User attribute field, type the user attribute mapping. The key represents the JumpServer user attribute name (available options: name, username, email, groups, phone, comment), while the value corresponds to the LDAP HA user attribute name.
{
  "name": "cn",
  "email": "mail",
  "username": "cn",
  "groups": "memberOf"
}In the Connect timeout (s) field, type the LDAP HA connection timeout in seconds.
In the Search paged size (piece) field, type the page size for searching users.
In the User DN cache timeout (s) field, type the cache duration for user DN in seconds to improve login authentication speed. Submit the form to clear the cache if the user DN is changed, otherwise, authentication will fail.
Click Submit.
Test LDAP HA connection
Navigate to System settings > Authentication > LDAP HA.
Scroll to the bottom of the page.
Click Test connection.
Test LDAP HA user login
Navigate to System settings > Authentication > LDAP HA.
Completed and tested LDAP HA configuration successfully.
Scroll to the bottom of the page.
Click Test login.
In the popup, type the username and password for LDAP HA user.
Click Confirm.
Import LDAP HA users
Navigate to System settings > Authentication > LDAP HA.
Completed and tested LDAP HA configuration successfully.
Scroll to the bottom of the page.
Click User import.
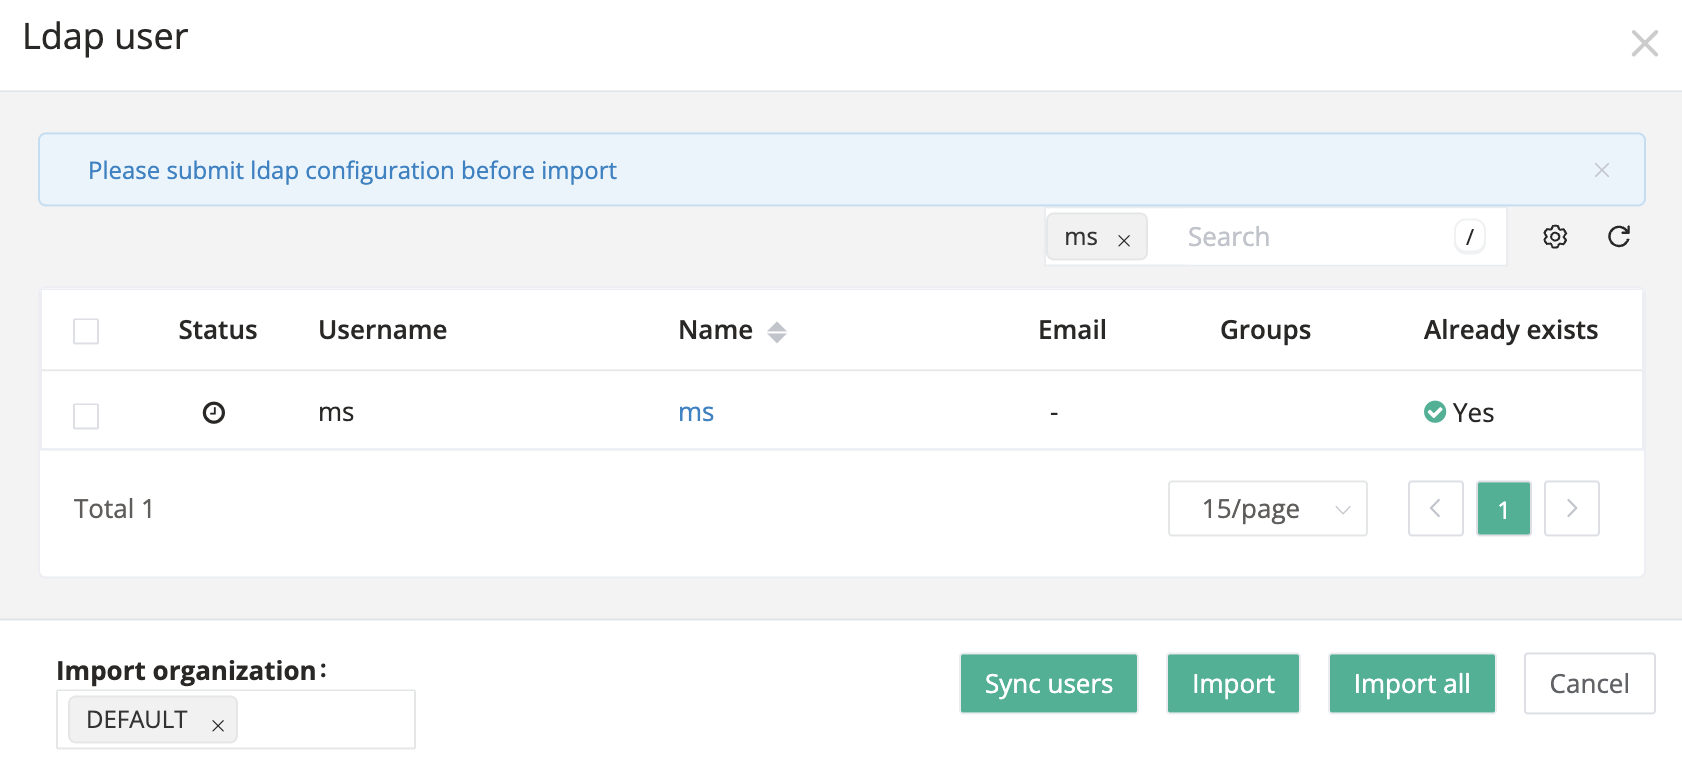
In the popup, you can import LDAP HA users in the following ways.
Click Sync Users to sync LDAP HA users to the table.
In the Import organization field, select one or more organizations to import.
Check the users you want to import, click Import to proceed.
Alternatively, you can click Import all to import all users.
Set up LDAP HA user sync
Navigate to System settings > Authentication > LDAP HA.
Completed and tested LDAP HA configuration successfully.
Scroll to the bottom of the page.
Click Sync settings.
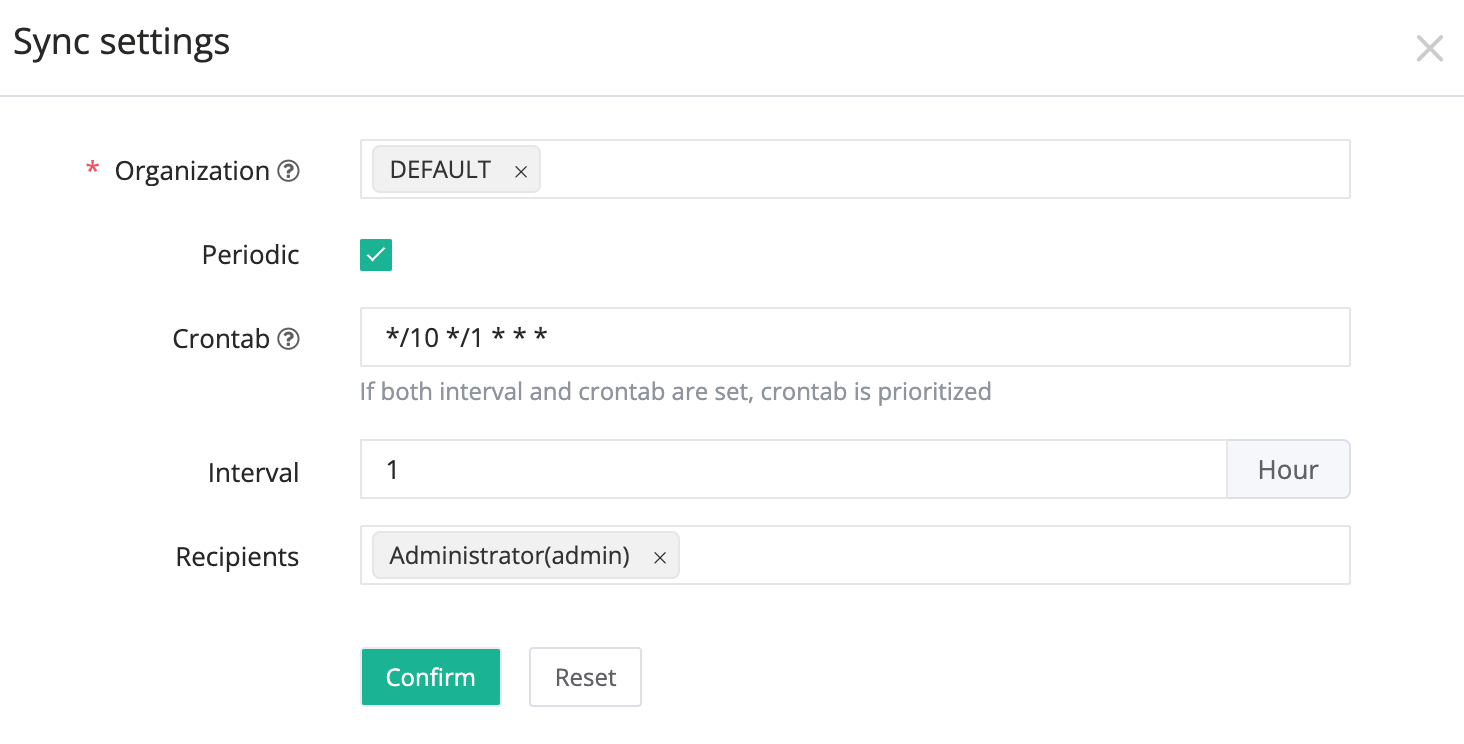
In the popup, type the following information to configure.
In the Organization field, Select one or more organizations to sync.
In the Periodic field, check to enable periodic sync.
In the Crontab field, type the crontab expression. If empty, "Interval" will be used.
In the Interval field, type the sync interval in hours.
However, if "Crontab" has a value, "Crontab" will take priority.
In the Recipients fields, select one or more users to receive the sync result.
Click Confirm.