Integrate SAML2 authentication
About SAML2
Security Assertion Markup Language 2.0 (SAML2) is an open standard for exchanging authentication and authorization data between parties, particularly between an Identity Provider and a Service Provider. It allows users to authenticate once with the IdP and access multiple services (SPs) without needing to re-enter credentials.
Identity Provider (IdP) is a system that authenticates users and provides their identity information to service providers.
Service Provider (SP) is a system or application that relies on an IdP to authenticate users and grant access to its services based on the user identity. In this case, JumpServer acts only as the SP.
How to configure

Navigate to System settings > Authentication > SAML2.
In the SAML2 field, check to enable SAML2 authentication.
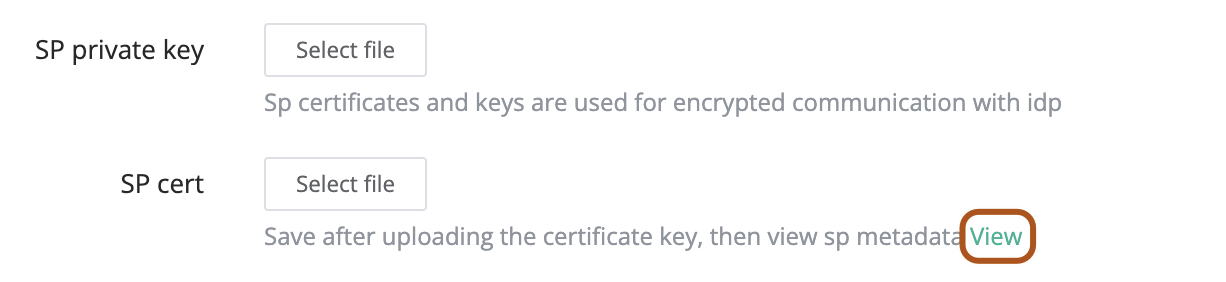
In the SP private key field, upload the SP private key file. It is used to sign SAML requests, decrypt encrypted SAML responses from the IdP, and ensure data integrity.
In the SP cert field, upload the SP certificate file. It is generated from the SP private key and provided to the IdP to verify signed requests from the SP. Additionally, it encrypts SAML response data to ensure secure transmission.
The SP private key and SP certificate work together to ensure secure communication and data protection in SAML2 authentication. In simple terms, SP private key handles signing and decryption, while the SP certificate handles verification and encryption.
In the IDP metadata URL field, type the IdP metadata URL, such as "https://saml2.example.com/realms/JumpServer/protocol/saml/descriptor".
In the IDP metadata XML field, you can manually type the IdP Metadata XML. In practice, you only need to provide either the "IDP metadata URL" or the "IDP metadata XML". If both are present, the "IDP metadata URL" takes precedence.
In the SP advanced settings field, type the information you want to configure. We will generate SP Metadata based on this configuration for IdP use. For more information, see SP advanced settings (opens in a new tab).
{
  "organization": {
    "en": {
      "name": "JumpServer",
      "displayname": "JumpServer",
      "url": "https://jumpserver.com/"
    }
  },
  "strict": true,
  "security": {}
}SP Metadata is used to provide essential configuration information about the service provider, including entity ID, endpoint URLs, public certificates, and supported bindings, to facilitate secure communication with the identity provider in SAML authentication.
You can click View in the help information below the "SP cert" field to see the SP metadata.
In the User attribute field, type the user attribute mapping. The key represents the SAML2 user attribute name, while the value corresponds to the JumpServer user attribute name (available options: name, username, email, groups, phone, comment).
{
  "uid": "username",
  "email": "email",
  "member": "groups"
}In the Organization field, after authentication and creation, the user will be added to the selected organization.
In the Always update user field, when checked, after SAML2 user authentication, user information (only includes: name, username, email, phone, comment) will be updated each time, "groups" are only synchronized when the user is created.
In the Logout completely field, when checked, logging out will also log the user out from the SAML2 service.
Click Submit.
JumpServer SAML2 URLs
https://jumpserver.example.com/core/auth/saml2/login/https://jumpserver.example.com/core/auth/saml2/callback/https://jumpserver.example.com/core/auth/saml2/logout/https://jumpserver.example.com/core/auth/saml2/metadata/