Create assets
This topic describes how to create various types of assets, such as hosts, network devices, databases, cloud, and web assets.
Create a host
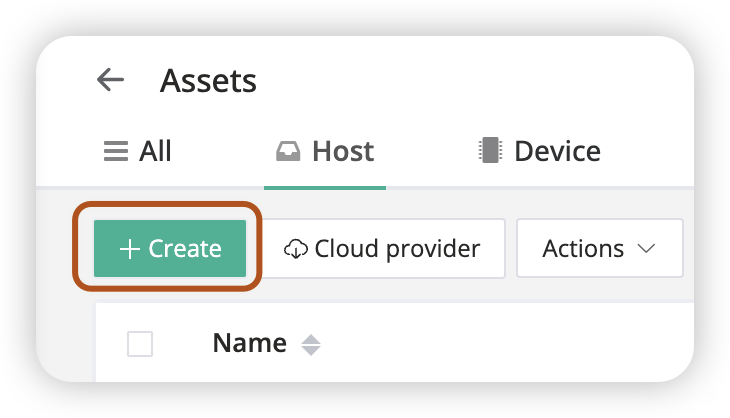
- In JumpServer, navigate to Console > Assets > Host, and click the + Create button.
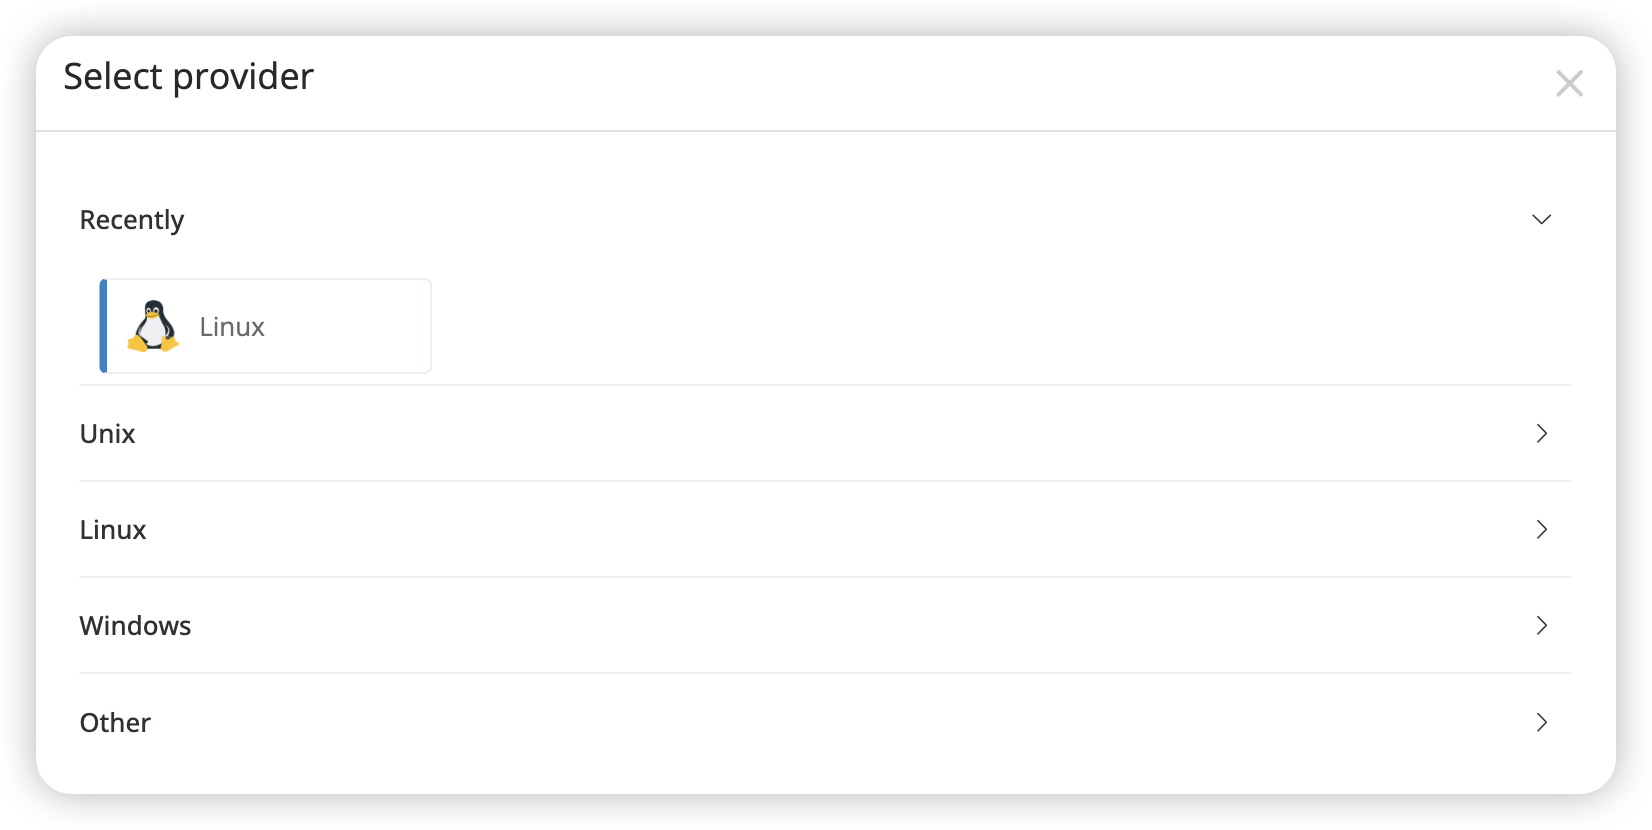
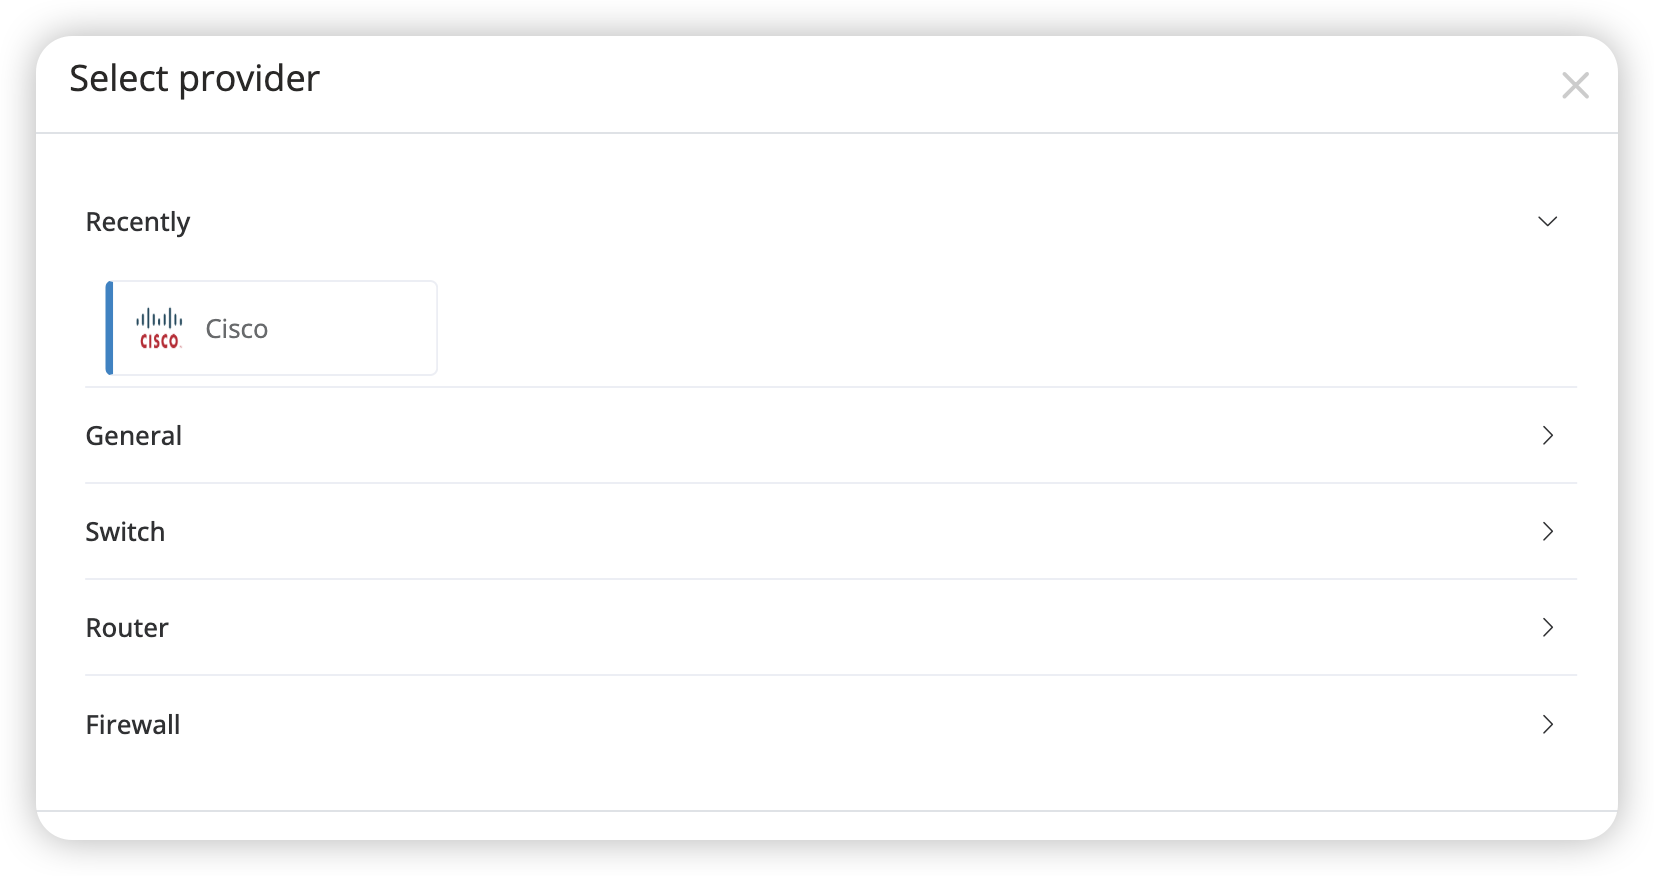
- In the Select Provider popup, choose a host platform.
- In the Name field, enter a unique name for all asset types in the organization.
- In the IP/Host field, enter the IP address or hostname of the host.
- In the Platform field, the default is selected in
Step 2, but you can choose another host platform of the same type. - In the Nodes field, select one or more nodes.
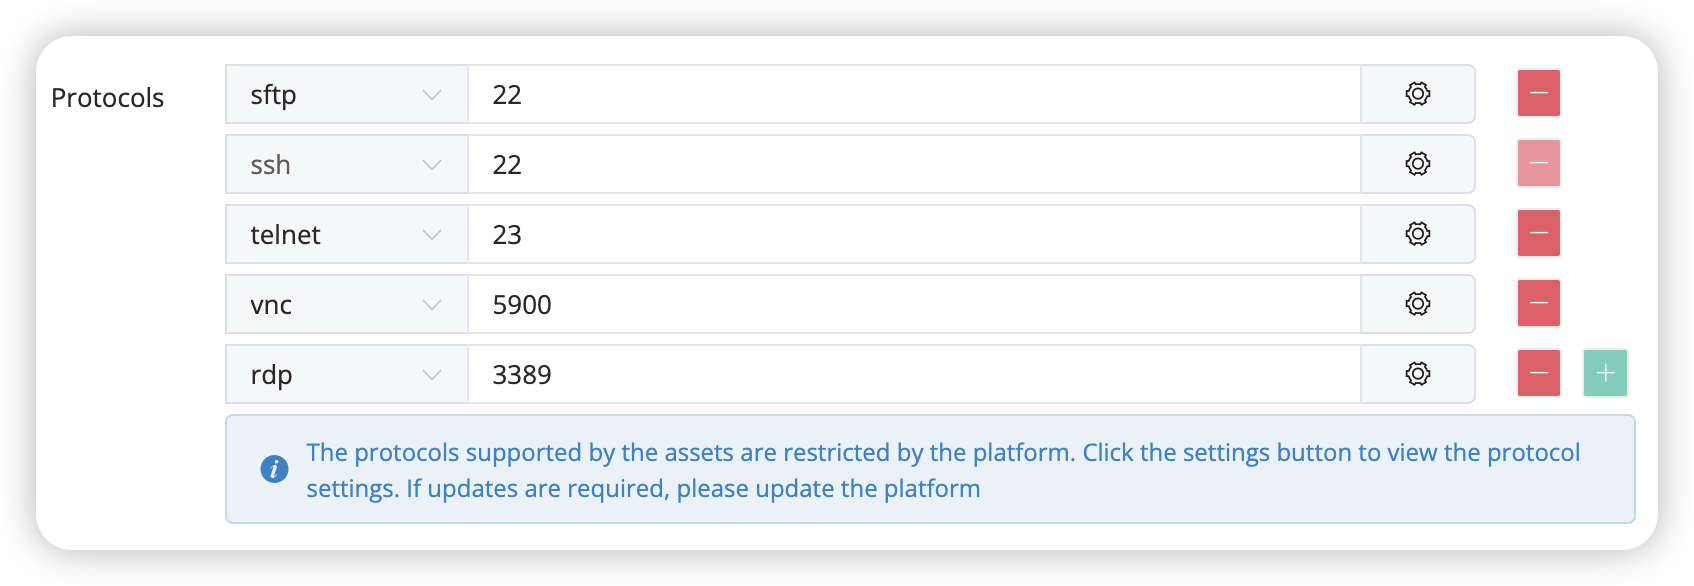
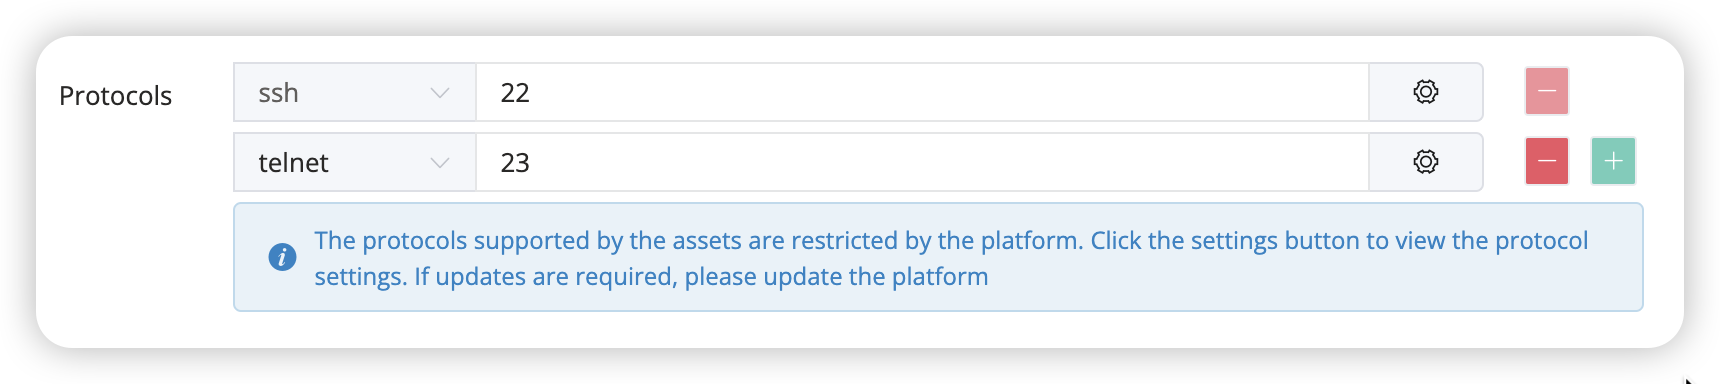
- In the Protocols field, add or remove protocols and modify ports. The platform determines the available protocols.
- Optionally, in the Accounts field, add multiple accounts, either directly or from a template.
- Optionally, in the Zone field, select only one zone.
- Optionally, in the Tags field, select one or more tags.
- In the Active field, enable or disable the host.
- Optionally, in the Description field, enter a description of the host.
- Click Submit to create the host, or Save & Continue to create and add more.
Create a device
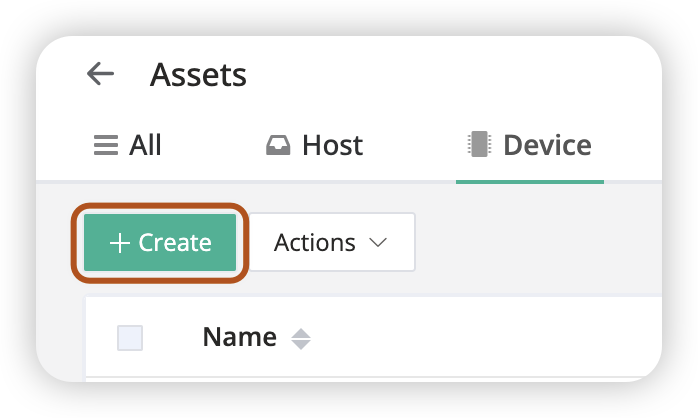
- In JumpServer, navigate to Console > Assets > Device, and click the + Create button.
- In the Select Provider popup, choose a device platform.
- In the Name field, enter a unique name for all asset types in the organization.
- In the IP/Host field, enter the IP address or hostname of the device.
- In the Platform field, the default is selected in
Step 2, but you can choose another device platform of the same type. - In the Nodes field, select one or more nodes.
- In the Protocols field, add or remove protocols and modify ports. The platform determines the available protocols.
- Optionally, in the Accounts field, add multiple accounts, either directly or from a template.
- Optionally, in the Zone field, select only one zone.
- Optionally, in the Tags field, select one or more tags.
- In the Active field, enable or disable the device.
- Optionally, in the Description field, enter a description of the device.
- Click Submit to create the device, or Save & Continue to create and add more.
Create a database
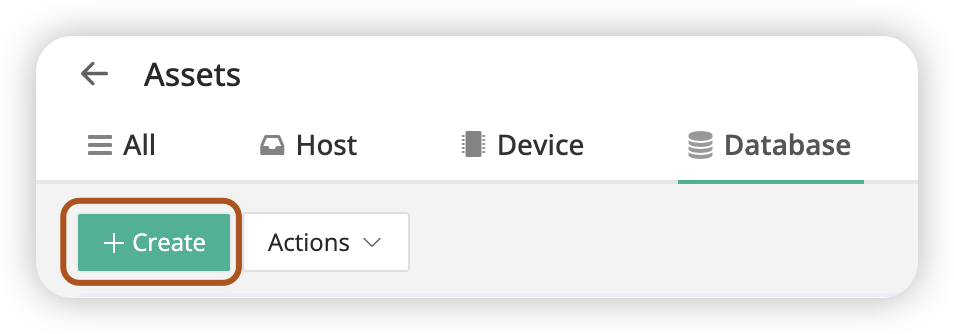
- In JumpServer, navigate to Console > Assets > Database, and click the + Create button.
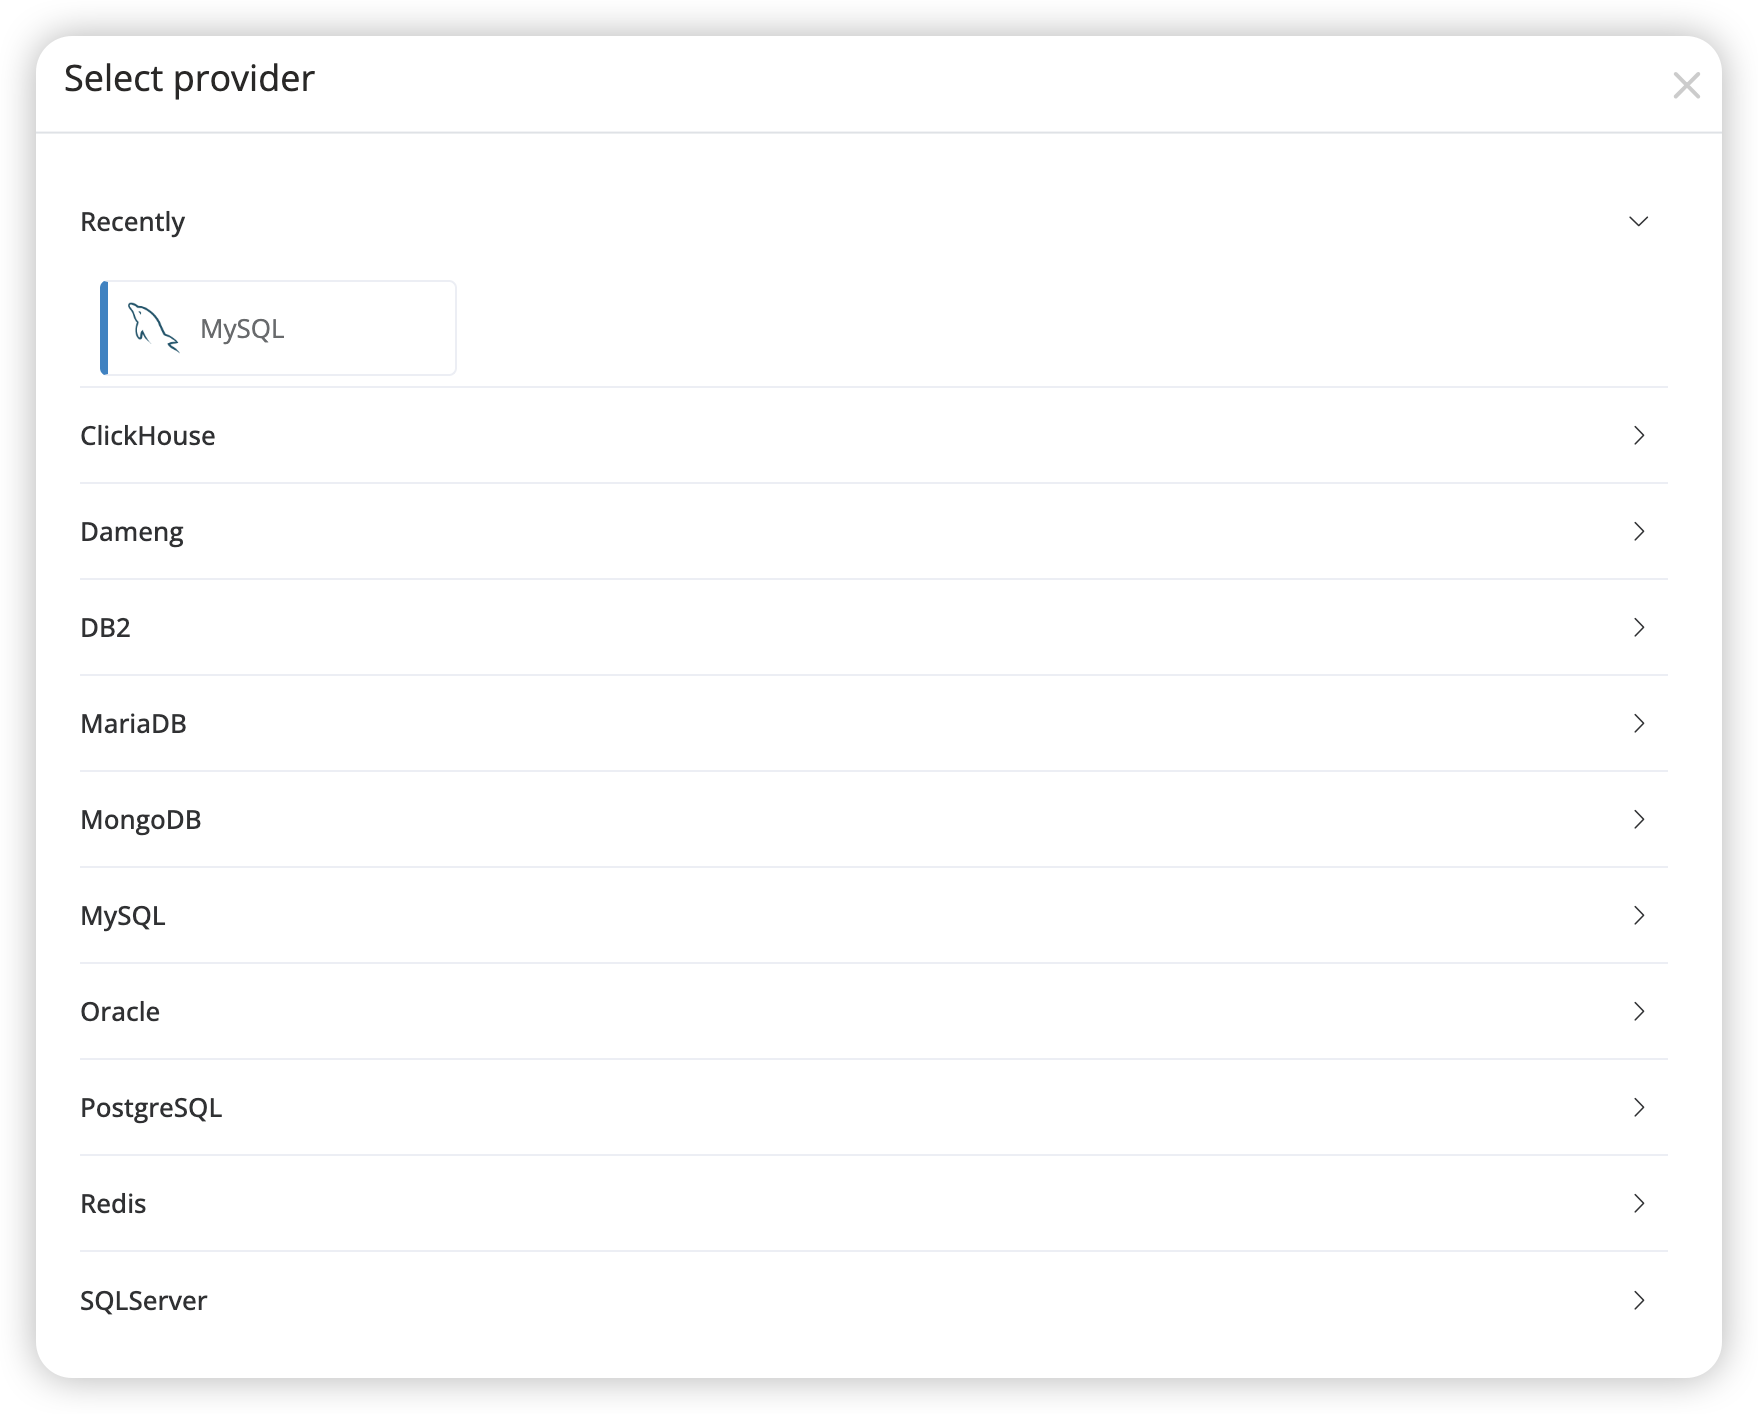
- In the Select Provider popup, choose a database platform.
- In the Name field, enter a unique name for all asset types in the organization.
- In the Address field, enter the database address.
- In the Platform field, the default is selected in
Step 2, but you can choose another database platform of the same type. - In the Nodes field, select one or more nodes.
- Optionally, In the Default database field, enter the default database name. This will be the default database the user connects to.
- In the Protocols field, modify the port.

-
Optionally, In the Security section, enter the following information:
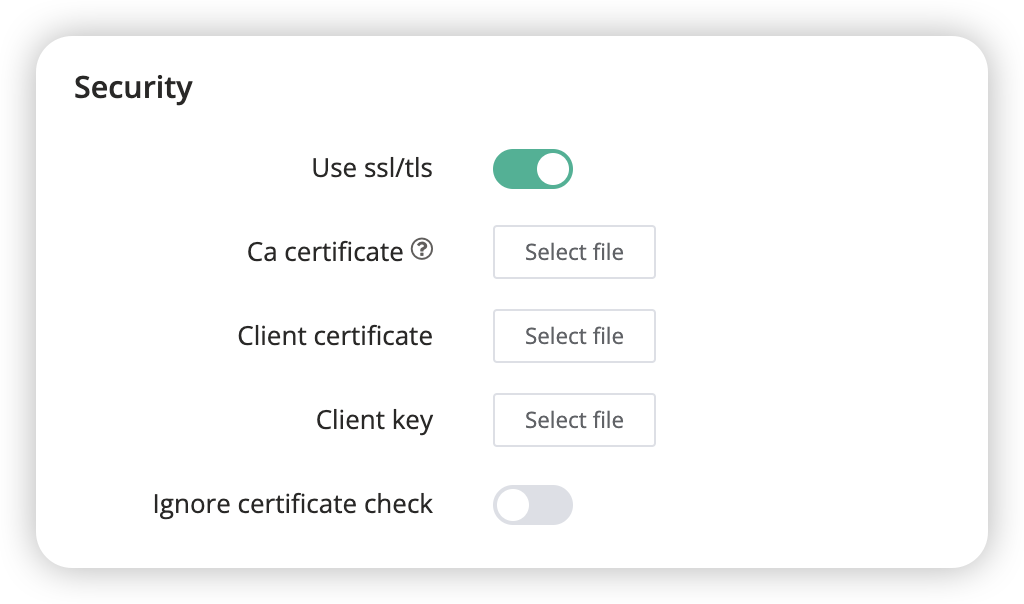
- In the Use ssl/tls field, enable or disable SSL/TLS.
- In the Ca certificate field, upload the CA certificate.
- In the Client certificate field, upload the client certificate.
- In the Client key field, upload the client key.
- In the Ignore certificate check field, enable or disable certificate verification.
-
Optionally, in the Accounts field, add multiple accounts, either directly or from a template.
-
Optionally, in the Zone field, select only one zone.
-
Optionally, in the Tags field, select one or more tags.
-
In the Active field, enable or disable the database.
-
Optionally, in the Description field, enter a description of the database.
-
Click Submit to create the database, or Save & Continue to create and add more.
Create a cloud
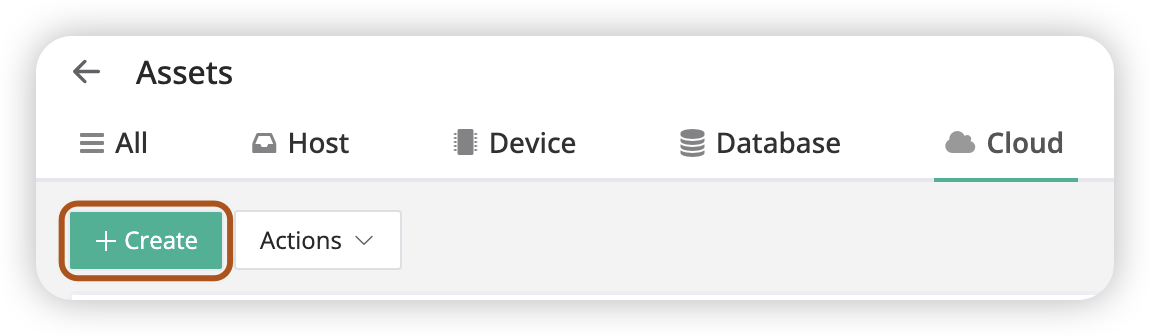
- In JumpServer, navigate to Console > Assets > Cloud, and click the + Create button.
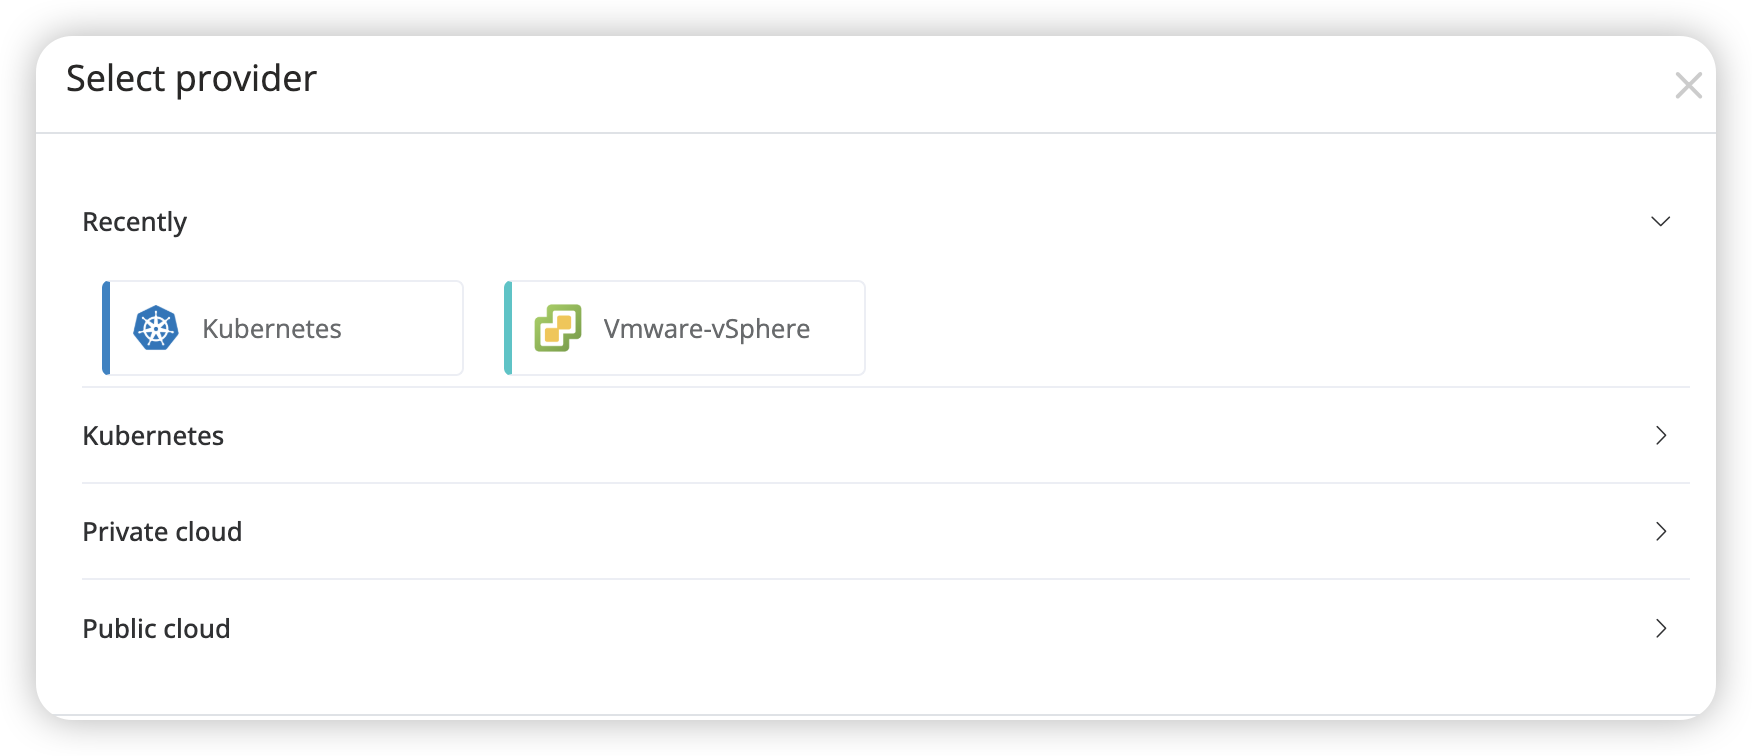
- In the Select Provider popup, choose a cloud platform.
- In the Name field, enter a unique name for all asset types in the organization.
- In the URL field, enter the cloud URL.
- In the Platform field, the default is selected in
Step 2, but you can choose another cloud platform of the same type. - In the Nodes field, select one or more nodes.
- In the Protocols field, modify the port.

- Optionally, in the Accounts field, add multiple accounts, either directly or from a template.
- Optionally, in the Tags field, select one or more tags.
- In the Active field, enable or disable the cloud.
- Optionally, in the Description field, enter a description of the cloud.
- Click Submit to create the cloud, or Save & Continue to create and add more.
Create a web
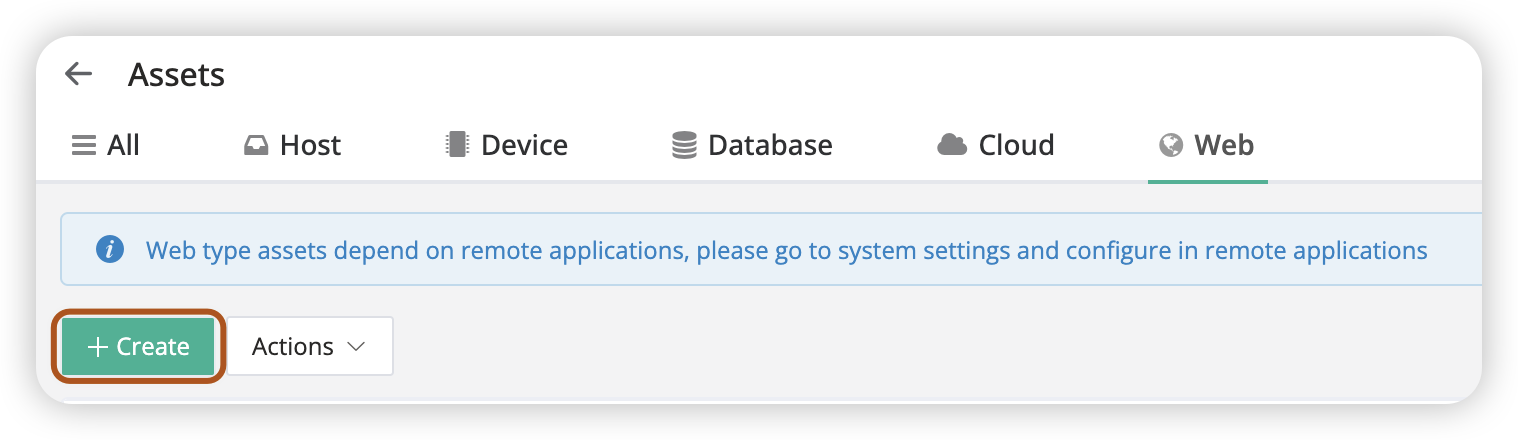
- In JumpServer, navigate to Console > Assets > Web, and click the + Create button.
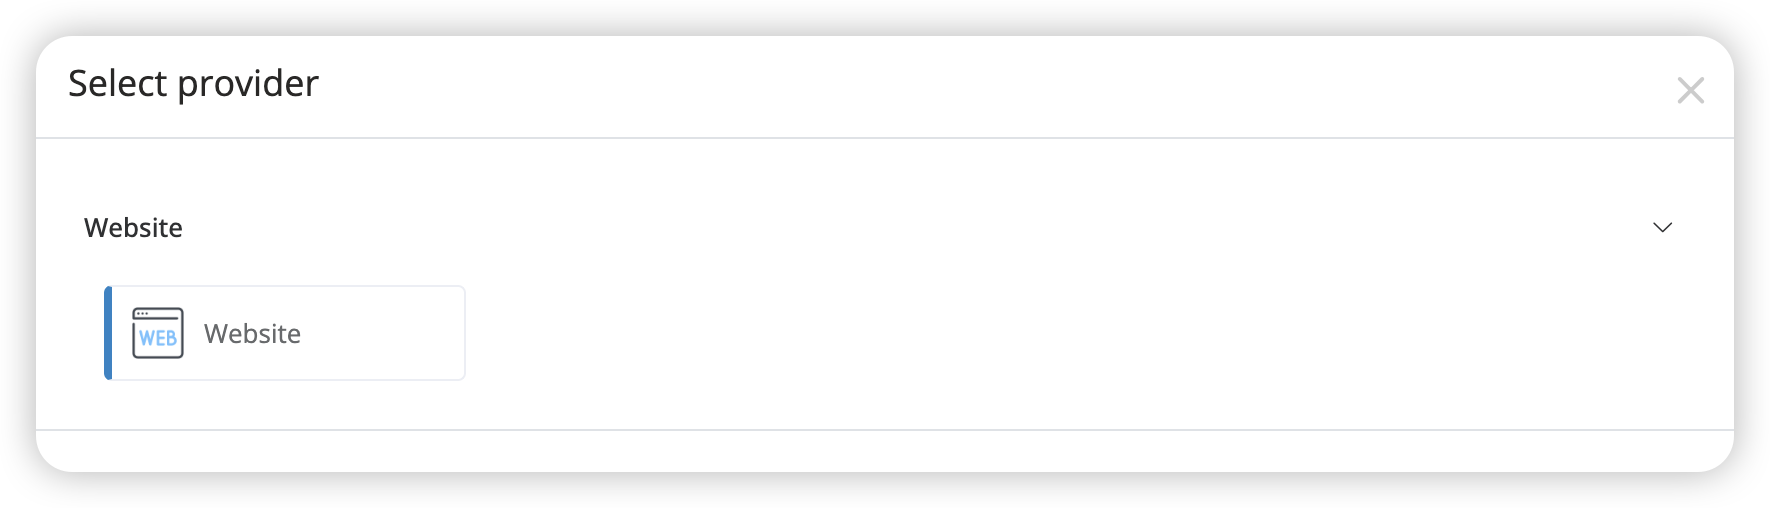
- In the Select Provider popup, choose a web platform.
-
In the Name field, enter a unique name for all asset types in the organization.
-
In the URL field, enter the website URL.
-
In the Platform field, the default is selected in
Step 2, but you can choose another web platform of the same type. -
In the Nodes field, select one or more nodes.
-
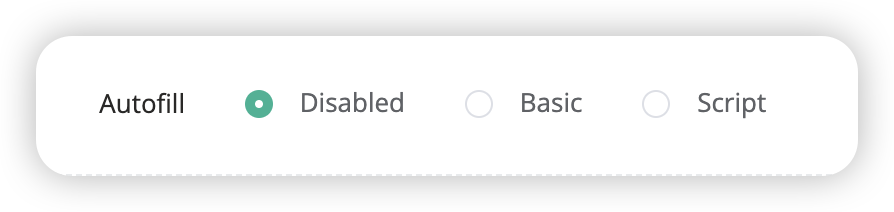
In the Autofill field, select either Disabled, Basic or Script.
-
Disabled: Disable autofill, when users connect to the web, they can access the site directly without entering any information.
-
Basic: Enables simple autofill, automatically filling in login credentials when users access the site. The default selector uses element attributes, but you can also use other selectors (like tag name, class) or XPath expressions.

-
Script: Allows custom scripts to handle autofill, providing more flexibility for complex login scenarios.
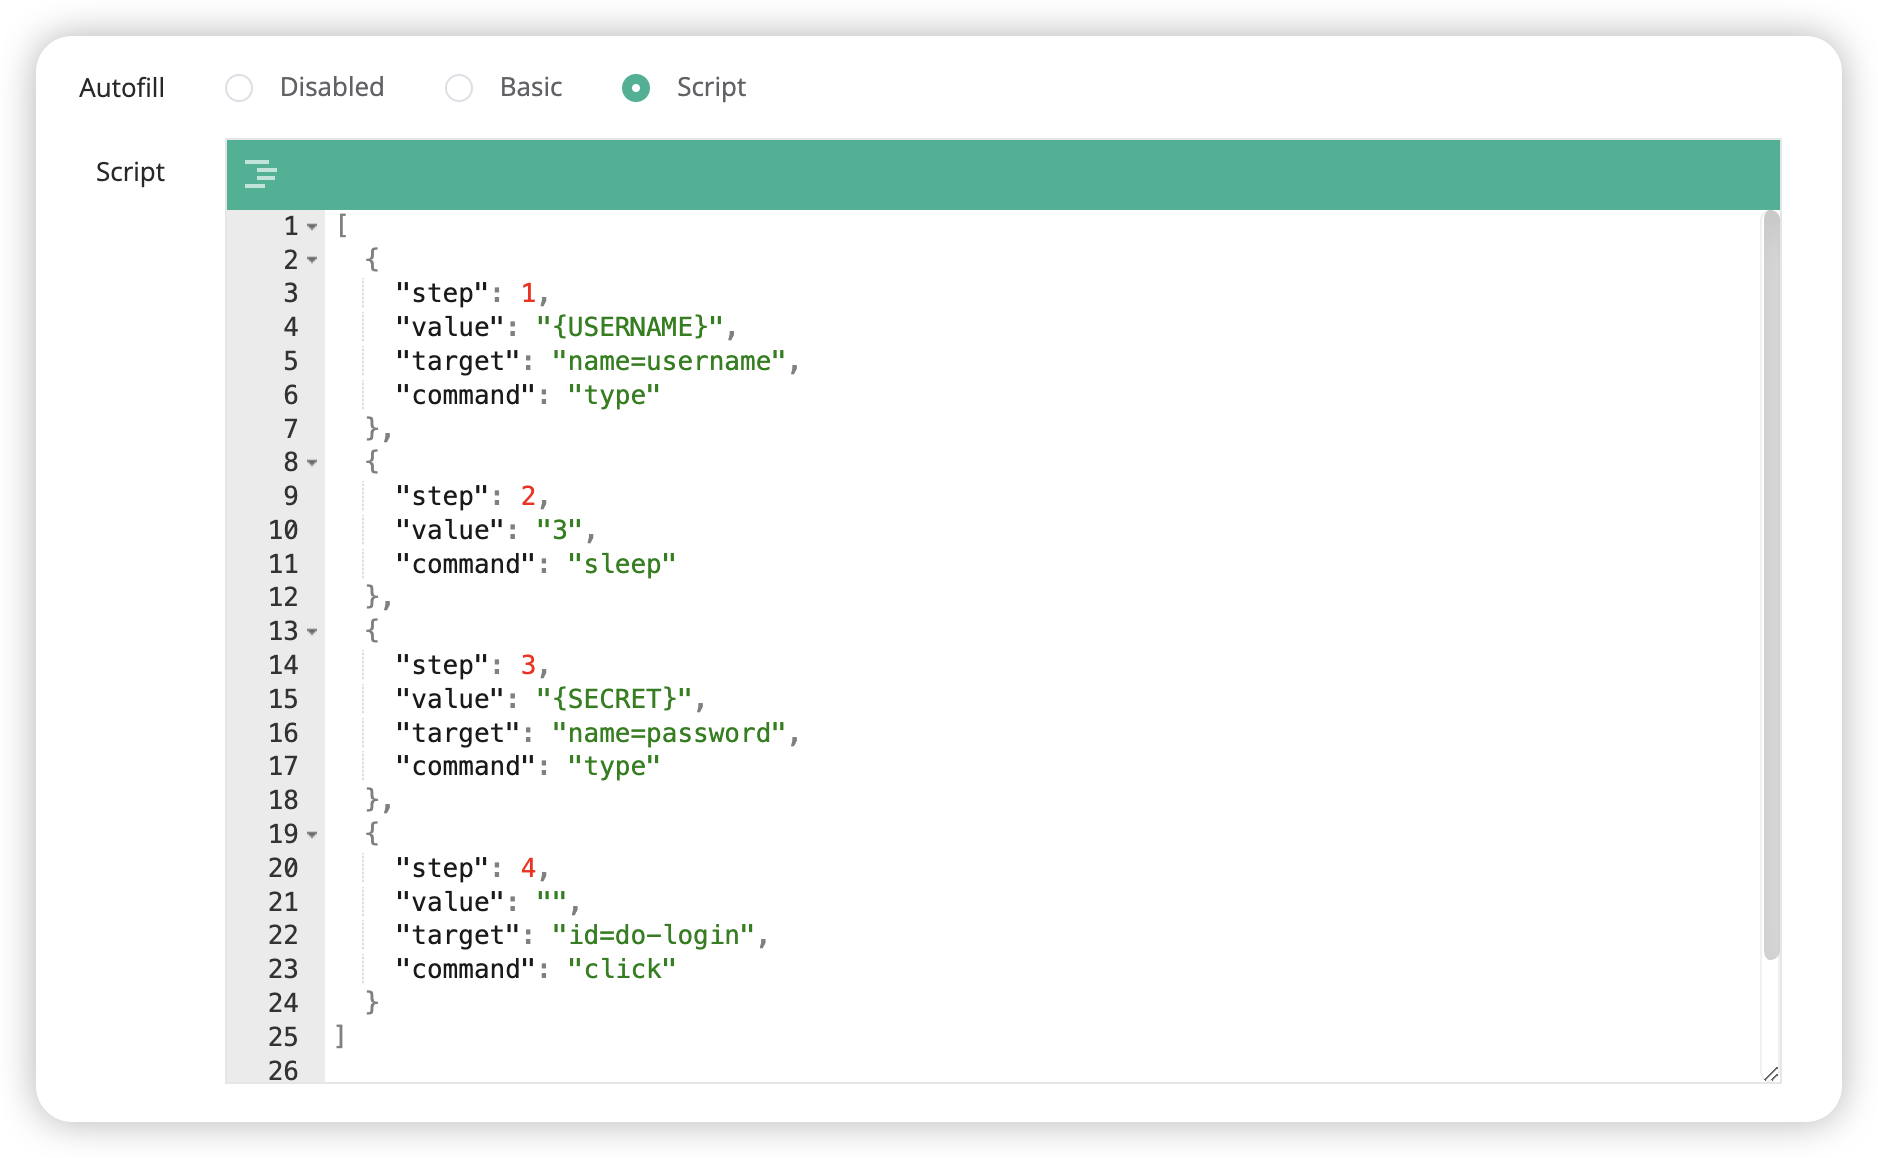
- Step: Script execution order, type as numbers.
- value: Type value, can use built-in variables like
{USERNAME}(Account username),{SECRET}(Account secret), or other strings. - target: The element to be filled in, which can use an element selector.
- command: The supported options are type, sleep, and click.
-
-
In the Protocols field, modify the port.
-
Optionally, in the Accounts field, add multiple accounts, either directly or from a template.
-
Optionally, in the Tags field, select one or more tags.
-
In the Active field, enable or disable the web.
-
Optionally, in the Description field, enter a description of the web.
-
Click Submit to create the web, or Save & Continue to create and add more.