Manage assets
This topic describes how to manage assets.
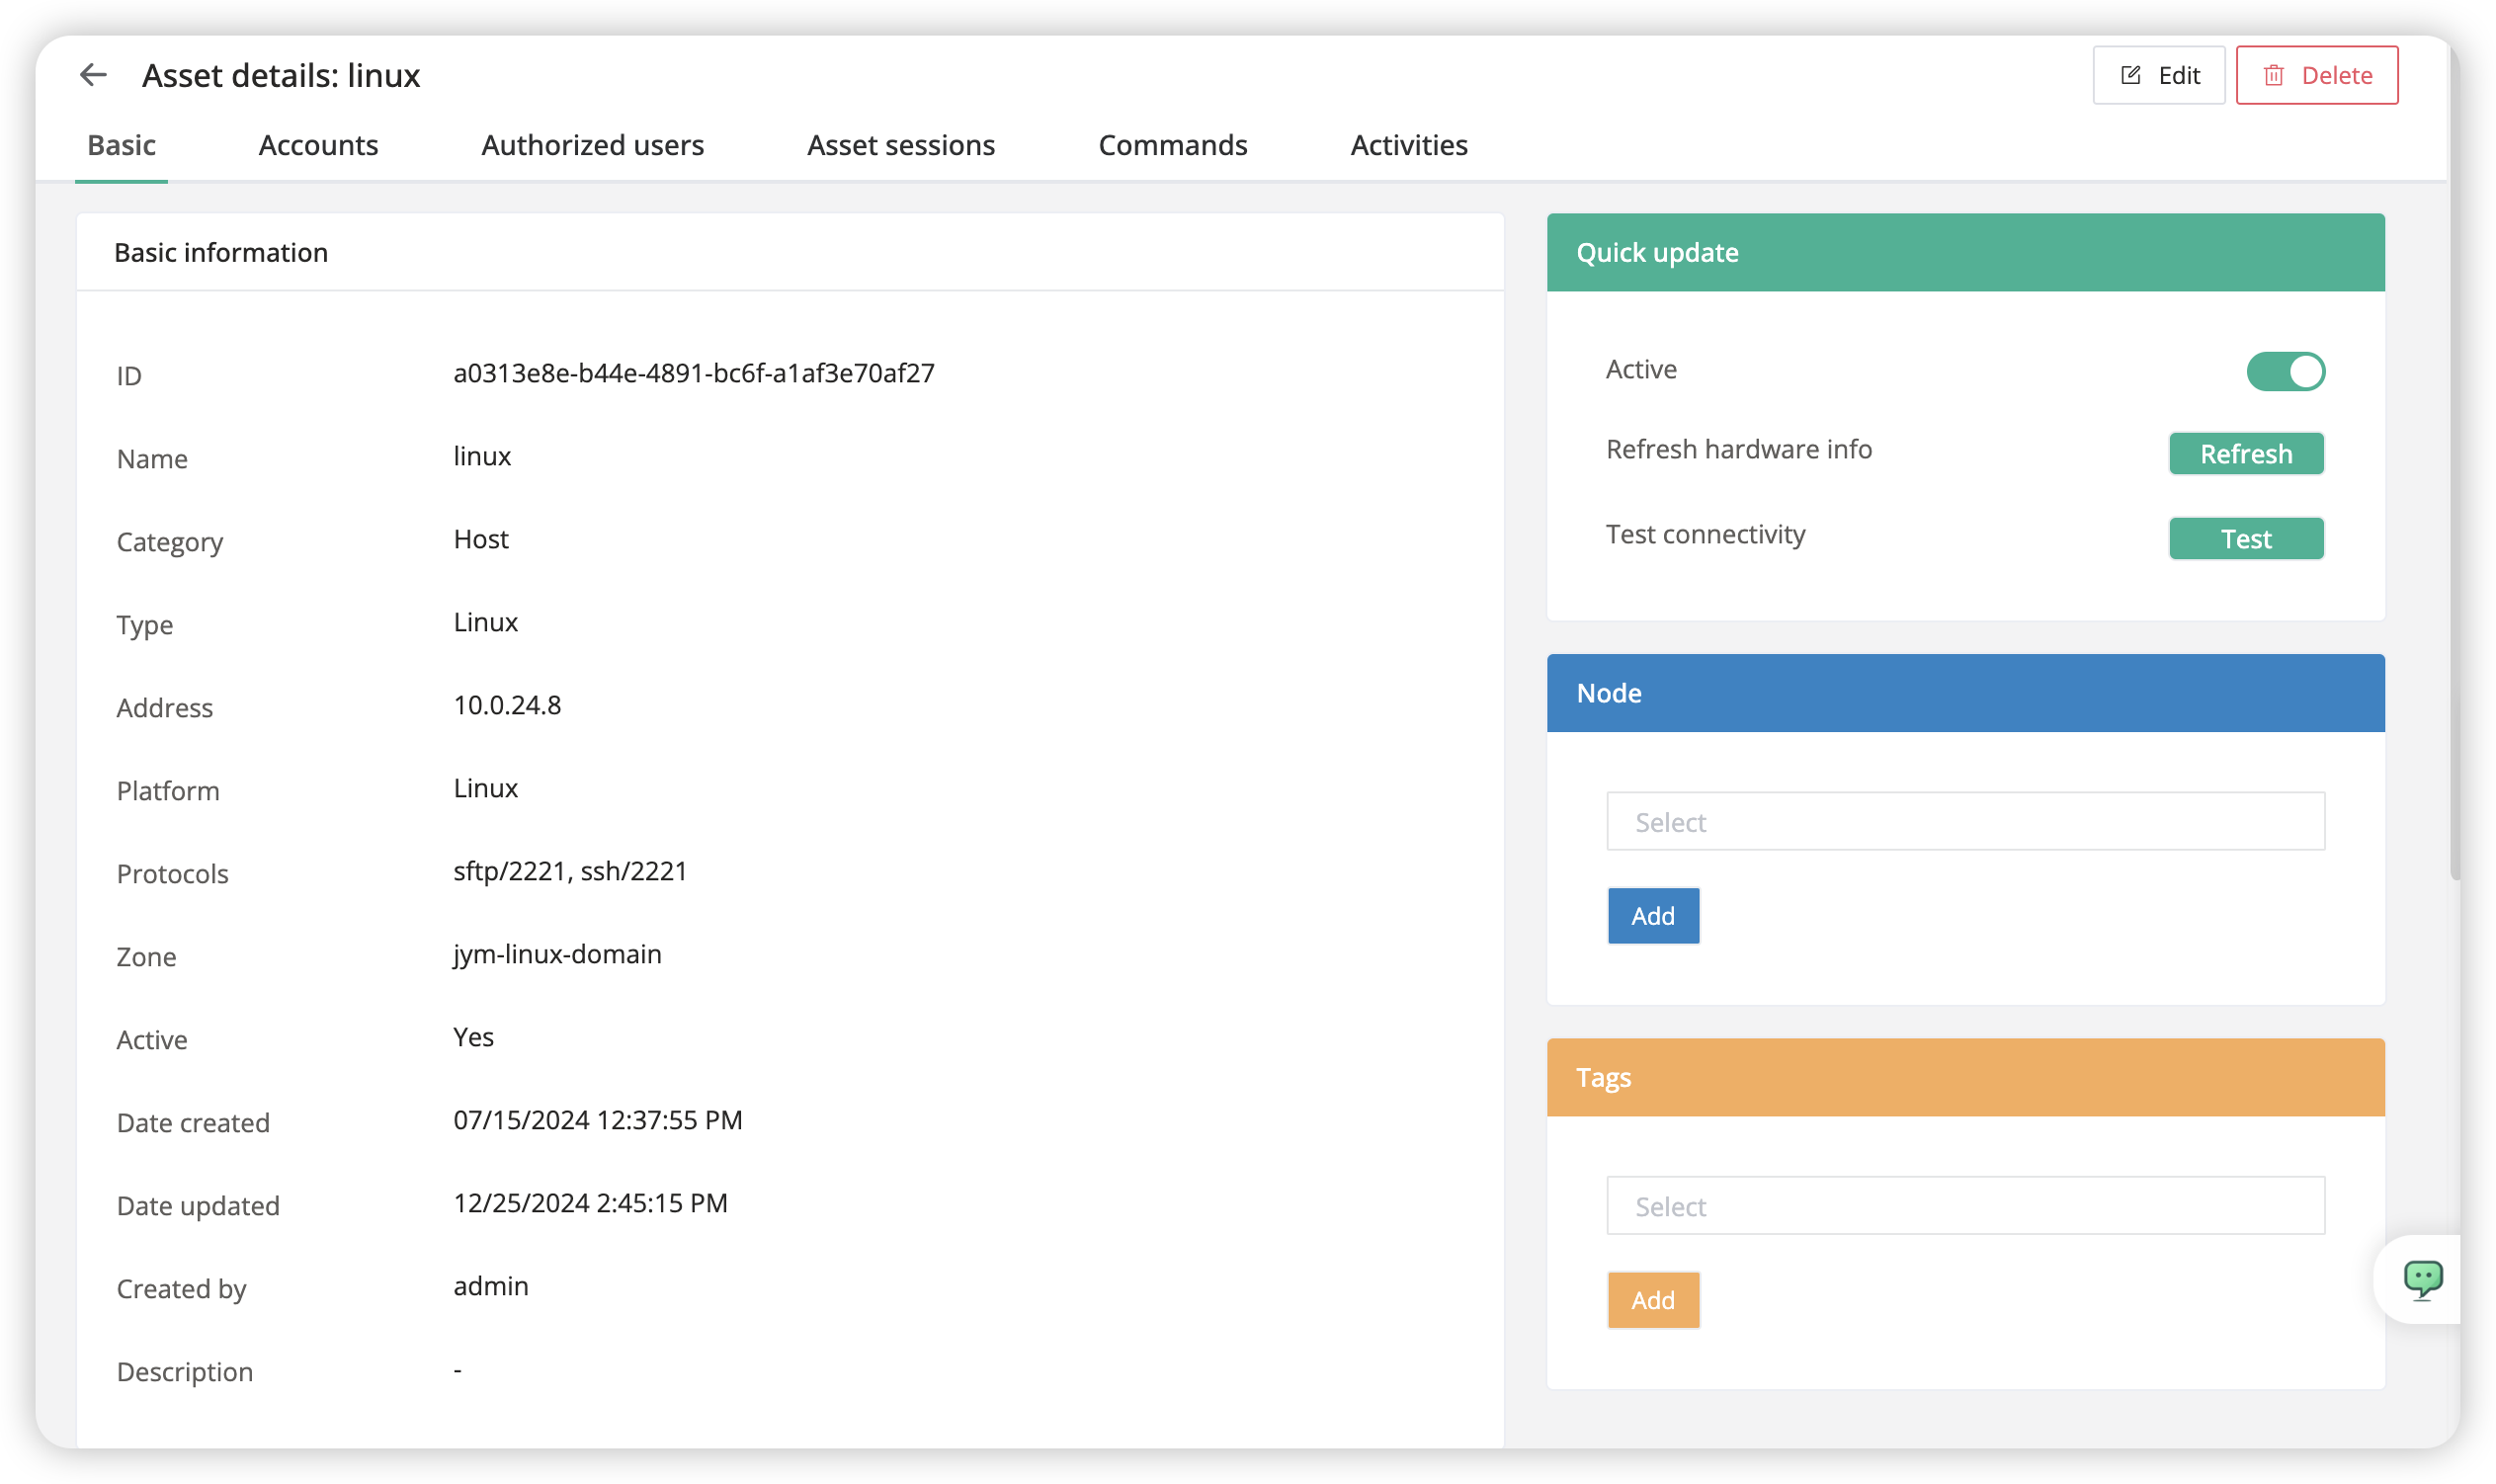
View asset details
- In JumpServer, navigate to Console > Assets.
- In the Assets list, locate the relevant asset and click the asset name to open the details page.
- On the
Basicpage (default), where you can viewBasic informationand more.
Edit asset properties and information
- In JumpServer, navigate to Console > Assets.
- In the Assets list, locate the relevant asset and click the Edit in the
Actionscolumn. Alternatively, in the top-right corner of the asset details page, click Edit. - Change the properties or information that you want, and then click Submit.
Delete an asset
- In JumpServer, navigate to Console > Assets.
- In the Assets list, locate the relevant asset and select the ··· dropdown menu in the
Actionscolumn, then click Delete. Alternatively, in the top-right corner of the asset details page, click Delete. - Confirm the information to be deleted in the popup, and then click OK.
Duplicate an asset
- In JumpServer, navigate to Console > Assets.
- In the Assets list, locate the relevant asset and select the ··· dropdown menu in the
Actionscolumn, then click Duplicate.
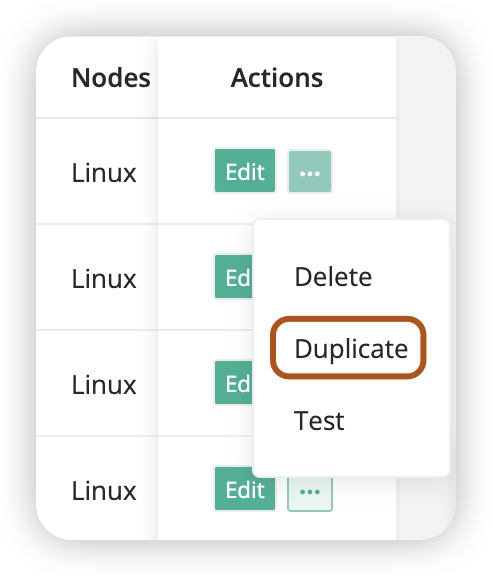
- Modify the asset properties and information, and then click Submit.
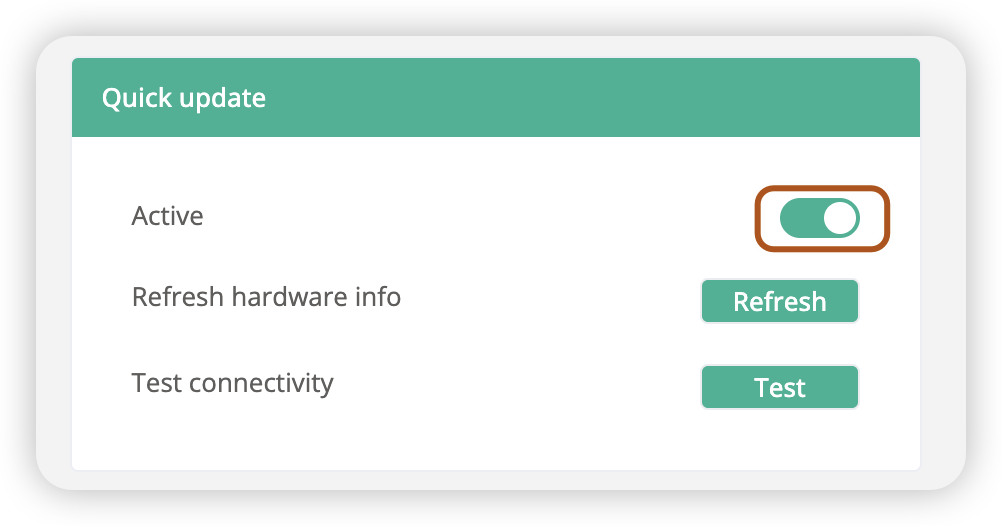
Enable or disable an asset
- In JumpServer, navigate to Console > Assets.
- In the Assets list, locate the relevant asset and click the asset name to open the details page.
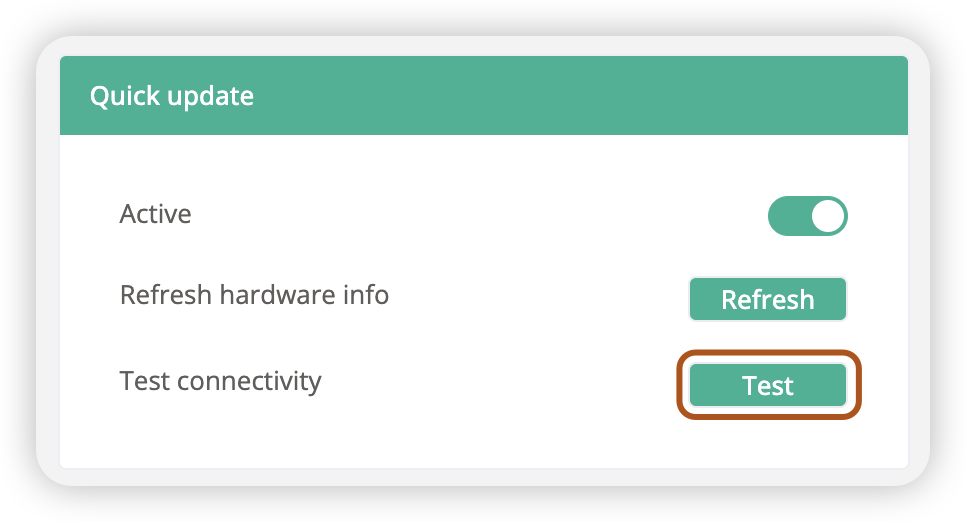
- On the
Basicpage (default), locate theQuick updatecard on the right, then click Active switch to enable or disable the asset.
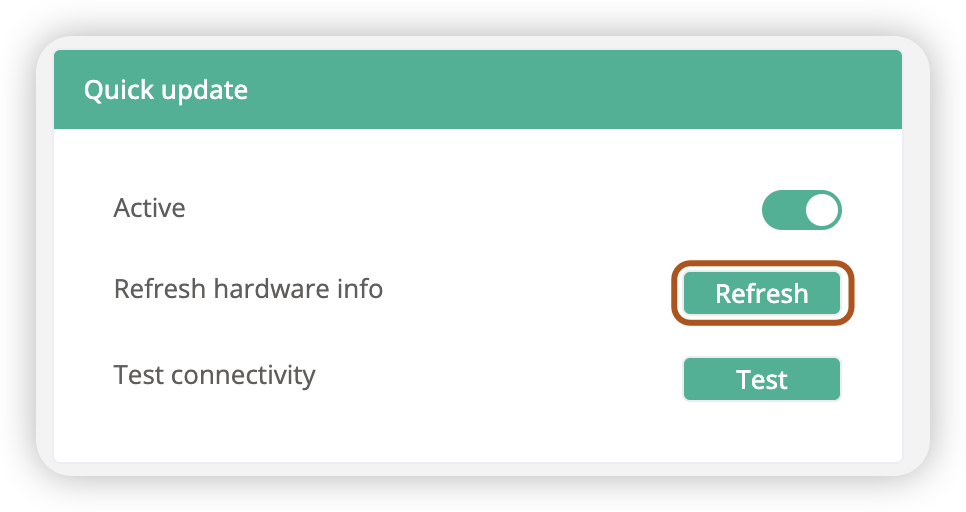
Refresh asset hardware information
- In JumpServer, navigate to Console > Assets.
- In the Assets list, locate the relevant asset and click the asset name to open the details page.
- On the
Basicpage (default), locate theQuick updatecard on the right, then click Refresh to start an Ansible task to update the asset’s hardware information.
- A new tab will open automatically to show the task execution logs.
- After completion, view the asset’s hardware information in the
Hardware informationsection on the left side of the asset details page.
Test asset connection
- In JumpServer, navigate to Console > Assets.
- In the Assets list, locate the relevant asset and select the ··· dropdown menu in the
Actionscolumn, then click Test. Alternatively, on the asset details "Basic" page, locate theQuick updatecard on the right and click Test.
- A new tab will open automatically to show the task execution logs.
- Refresh the Assets list to view the asset’s connectivity status.
Add or remove nodes for an asset
- In JumpServer, navigate to Console > Assets.
- In the Assets list, locate the relevant asset and click the asset name to open the details page.
- On the
Basicpage (default), locate theNodecard on the right. - Select one or more nodes, and you can search by node name, then click Add.
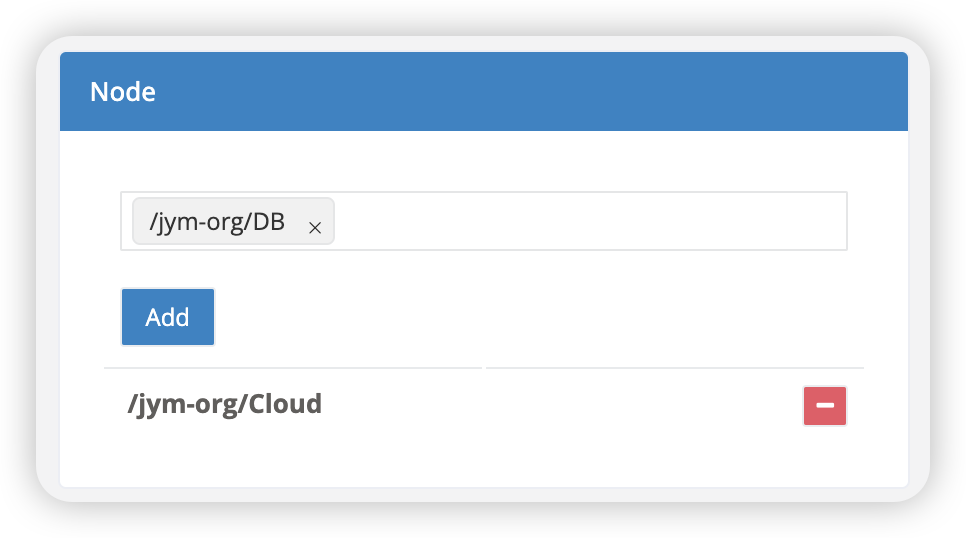
- Click - icon to Remove the node.
Add or remove tags for an asset
- In JumpServer, navigate to Console > Assets.
- In the Assets list, locate the relevant asset and click the asset name to open the details page.
- On the
Basicpage (default), locate theTagscard on the right. - Select one or more tags, and you can search by tag name or value, then click Add.
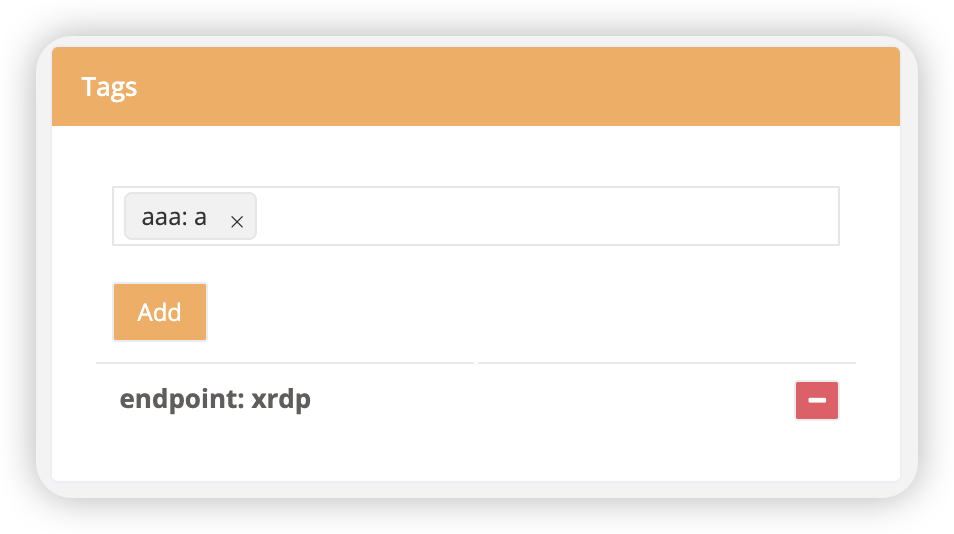
- Click - icon to Remove the tags.
Manage asset accounts
- In JumpServer, navigate to Console > Assets.
- In the Assets list, locate the relevant asset and click the asset name to open the details page.
- On the
Accountspage, you can see all accounts of the asset and perform the following actions.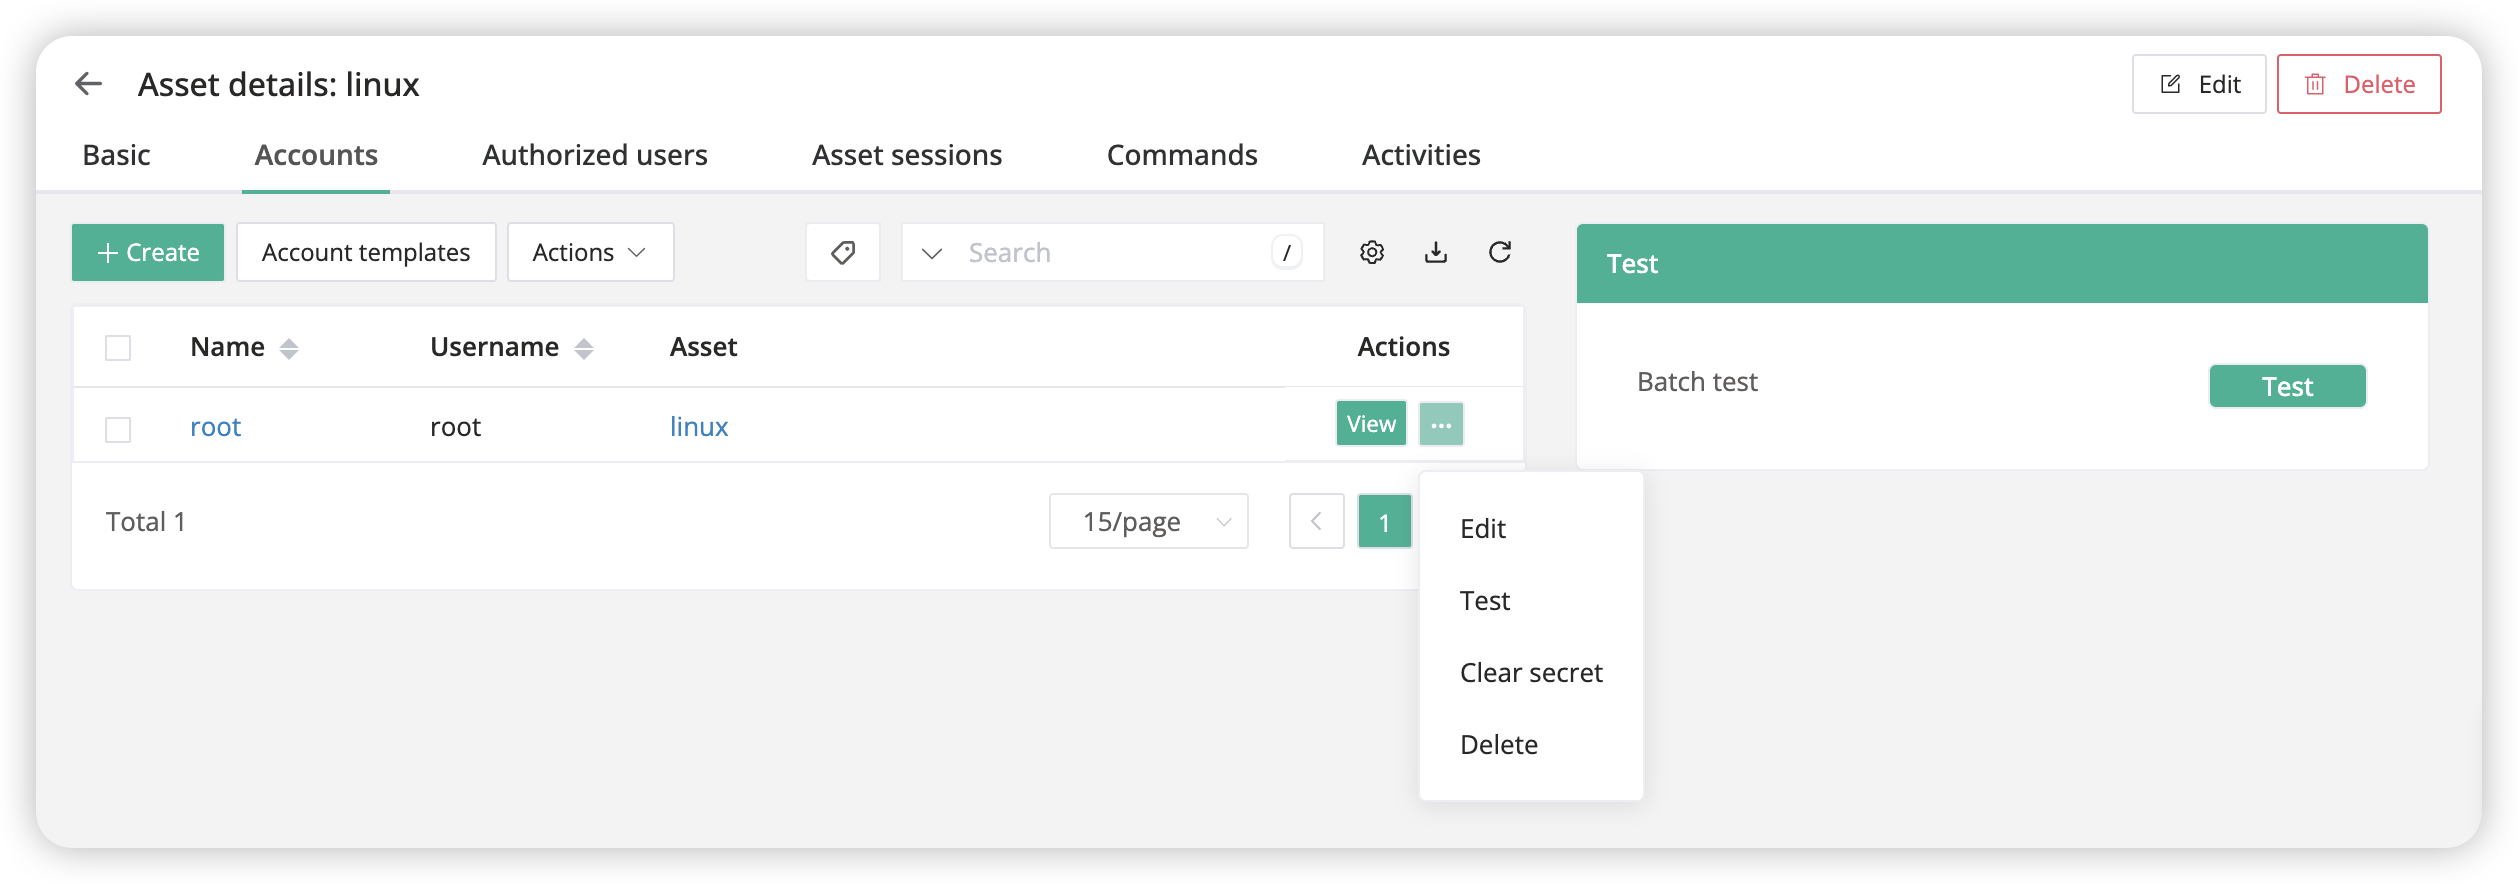
- Add account: Click + Create to add a new account, or select Account templates to add an account from a template.
- View account secret: Click View in the
Actionscolumn to view the account secret, but this step requires verifying the current user. - More actions: Select the ··· dropdown menu in the
Actionscolumn to Edit, Test, Clear secret, or Delete an account. - Batch test: In the
Testcard on the right side of the page, click Batch test to test the connectivity of all accounts.
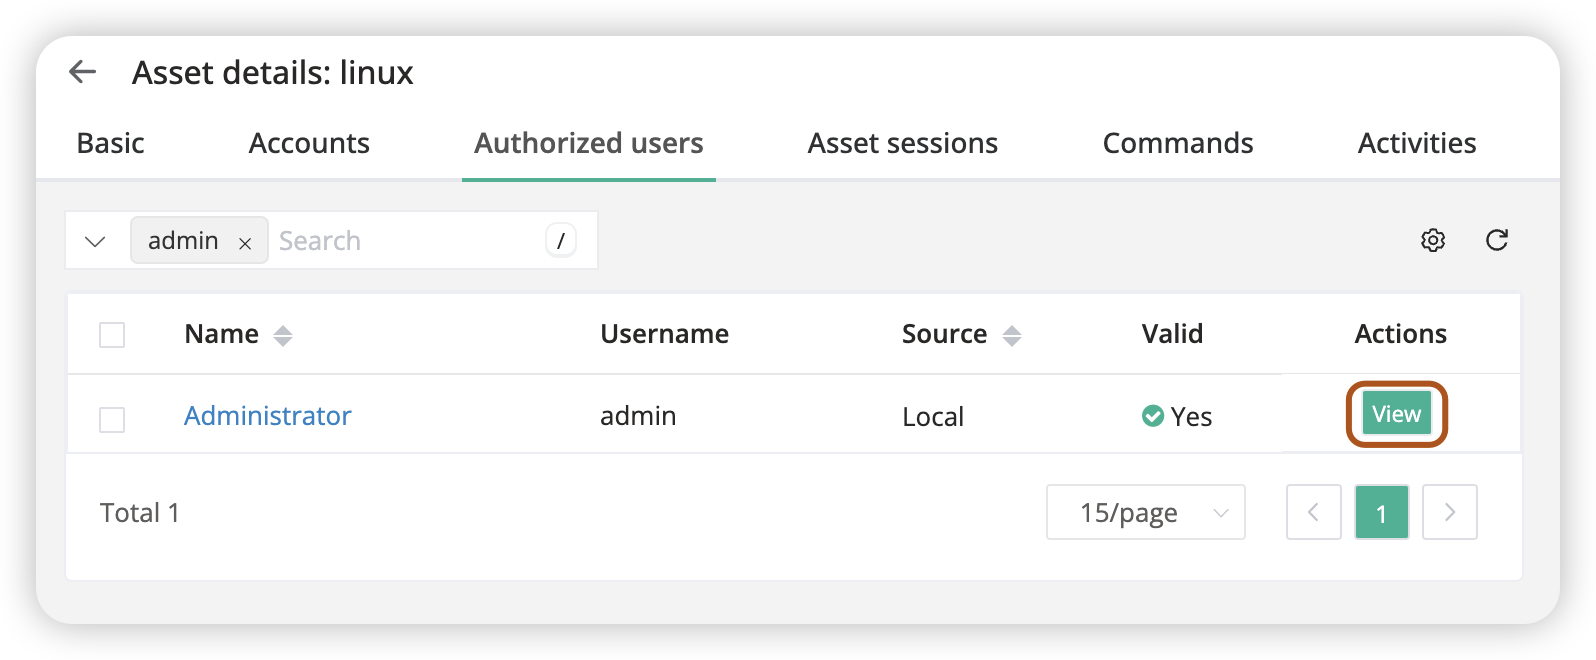
View authorized users of an asset
- In JumpServer, navigate to Console > Assets.
- In the Assets list, locate the relevant asset and click the asset name to open the details page.
- On the
Authorized userspage, you can view all users and user groups authorized for the asset. - Click View to see the authorization rules for the current user or user group.
View asset session records
- In JumpServer, navigate to Console > Assets.
- In the Assets list, locate the relevant asset and click the asset name to open the details page.
- On the
Asset sessionspage, you can view the session records of the asset.
View asset command execution logs
- In JumpServer, navigate to Console > Assets.
- In the Assets list, locate the relevant asset and click the asset name to open the details page.
- On the
Commandspage, you can view the command execution logs of the asset.
View asset activity logs
- In JumpServer, navigate to Console > Assets.
- In the Assets list, locate the relevant asset and click the asset name to open the details page.
- On the
Activitiespage, you can view the last 30 activity logs of the asset, including asset updates, logins, task executions, and more.